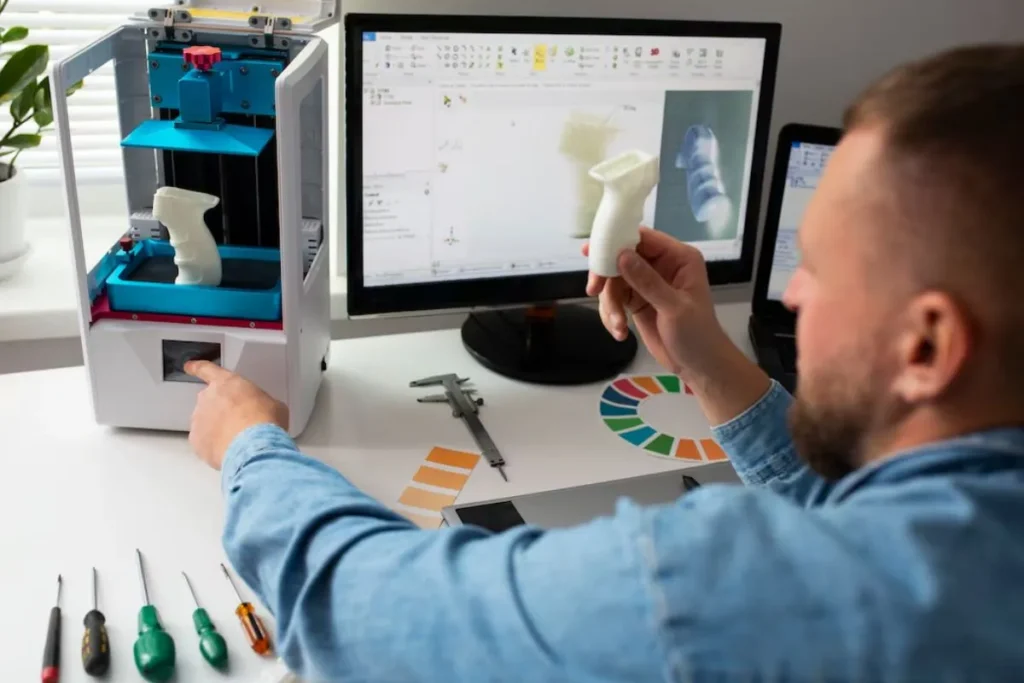
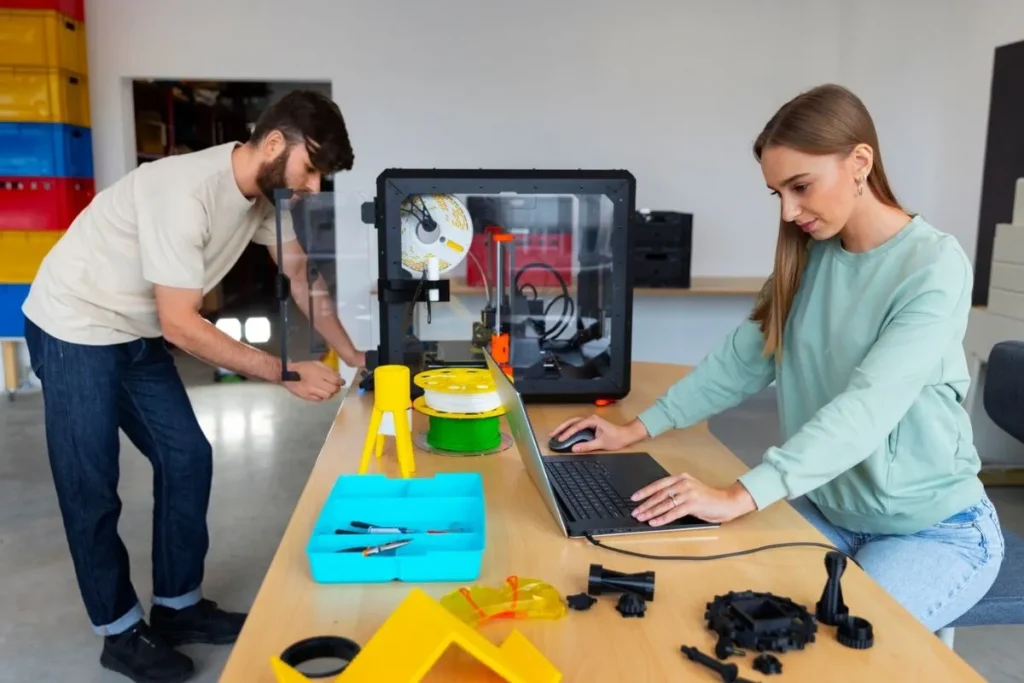
Advanced G-code Optimization for 3D Printers is a fundamental aspect to ensure high print quality and efficient printing time. Advanced techniques can significantly enhance precision and reduce waste.
Employing advanced G-code optimization can save costs. It contributes to creating intricate designs with minimal errors. This article discusses methods and advantages of such optimization.
Understanding Advanced G-Code Optimization
G-code is the language of 3D printers. Advanced G-code optimizes parameters for better prints. This programming language controls the movements of the printer and extruder.
Optimizing G-code is crucial for precision. It involves setting parameters that directly influence print quality. Adjustments to speed, temperature, and layer height can significantly enhance the final product.
Using sophisticated slicing software, you can fine-tune G-code for specific needs. This results in improved structural integrity and aesthetics. Such software also allows for custom supports and infill patterns, further enhancing the print’s durability and appearance.
Key Parameters for Optimization
Several parameters should be optimized:
- Print speed
- Layer height
- Support material
- Infill density
Print Speed Adjustment
Print speed impacts both printing time and quality. Reducing speed may improve detail, while increasing it hastens the process.
Balance speed to prevent defects. Consider material properties when adjusting speeds.
Use trial and error to refine settings. Document successful configurations for future use.
Layer Height Precision
Layer height influences resolution. Lower layer heights provide finer detail but increase print time.
Determine the minimum layer height your printer supports. Adjustments should be in small increments.
Consider object requirements when setting layer height. Larger objects may not need high resolution.
Optimizing Support Material
Support material is necessary for overhangs. However, excessive support increases waste and clean-up.
Advanced slicing software helps customize support placement. This ensures minimal material usage.
Choose soluble supports if post-processing is critical. Remove supports gently to avoid damage.
Importance of Infill Density
Infill density affects strength and material use. Higher density provides more strength but uses more filament.
Balance infill density according to the purpose. Lightweight parts don’t need high infill.
Consider the type of stress the part will endure. Structural components need higher infill.
Benefits of Advanced G-Code Optimization
Optimizing G-code offers multiple benefits. It improves quality and efficiency.
Here are some key advantages:
Enhanced Print Quality
Well-optimized G-code leads to smoother prints. It reduces layer lines and imperfections.
Advanced settings allow for intricate details. This is essential for prototyping and final product creation.
High-quality prints reflect professionalism. They are better suited for commercial applications.
Reduced Printing Time
Efficient G-code settings cut down print time. This is significant for large-volume production.
Quick prints mean more iterations in less time. This accelerates the development process.
Balance speed and quality to get optimal results. Always test prints before full-scale production.
Material and Cost Efficiency
Optimizing G-code reduces material waste. It saves filament and lowers costs.
Less support material means less post-processing. This further cuts down on labor costs.
Efficient use of materials makes the process sustainable. It aligns with eco-friendly practices.
Tips for Effective G-Code Optimization
Here are some tips:
- Regularly update slicing software.
- Calibrate your 3D printer frequently.
- Use high-quality filaments.
- Perform test prints for new settings.
Ensure your setup is always in top condition. This maintains print consistency.
Experiment with different settings. Every 3D printer has unique characteristics.
Join community forums to stay updated. Learn from shared experiences and insights.
Advanced Techniques for Further Improvement
Advanced G-code optimization can be enhanced with:
- Adaptive slicer algorithms
- Variable layer height control
- Mesh repairing tools
Adaptive Slicer Algorithms
These algorithms adjust parameters automatically. They analyze the model for optimal settings.
This reduces manual adjustments. It ensures consistent print quality.
Using adaptive slicers speeds up the workflow. It automates the optimization process.
Variable Layer Height Control
This technique adjusts layer height dynamically. Thicker layers are used for non-detailed areas.
It reduces print time without losing detail. Thin layers are maintained for intricate sections.
Implementing variable layer heights requires advanced slicers. Make sure your software supports it.
Mesh Repairing Tools
Meshes often have errors. These tools fix common issues like holes and non-manifold edges.
Repairing meshes improves slicing accuracy. This results in fewer print failures.
Use software like Meshmixer or Netfabb. They are specifically designed for 3D model repair.
Real-world Examples of Optimization
Let’s explore examples:
Case Study: Prototyping
A company reduced prototyping time by 30%. They optimized G-code by adjusting layer height.
This led to quicker iterations. The final product reached the market faster.
Combining speed and precision was key. They found the optimal balance through testing.
Case Study: Medical Devices
A clinic used 3D printing for prosthetics. Advanced G-code optimization improved fit and comfort.
They customized support material to reduce weight. This enhanced patient satisfaction.
Medical applications require high precision. G-code optimization ensured consistent quality.
Case Study: Aerospace Components
An aerospace firm optimized infill density. This resulted in stronger, lighter parts.
They reduced material use by 20%. This translated to significant cost savings.
Optimizing for material efficiency is crucial. It impacts both performance and cost.
Final Thoughts and Future Engagement
Advanced G-code Optimization for 3D Printers empowers users to achieve superior prints. It enhances quality, reduces costs, and improves efficiency.
Embracing advanced techniques yields tangible benefits. Stay updated with trends to leverage these advantages.
Join online communities and forums. Collaborate and share insights to continually improve your 3D printing projects.
For more in-depth information, subscribe to our newsletter. Get the latest tips, guides, and updates directly in your inbox!
Frequently Asked Questions
What is G-code?
G-code is a language used to instruct 3D printers on how to create an object. It includes commands for movement and control.
How does optimizing G-code improve print quality?
Optimizing G-code refines parameters such as speed, layer height, and infill density, leading to smoother and more detailed prints.
Can advanced G-code optimization reduce printing time?
Yes, efficient G-code settings can significantly reduce printing time by balancing speed with print quality.
What software can be used for G-code optimization?
Advanced slicing software like Cura, PrusaSlicer, and Simplify3D are excellent for G-code optimization, offering numerous customization options.
Why is infill density important in G-code optimization?
Infill density affects the strength and material usage of the print. Higher density provides more strength but uses more filament.


