Adding texture to 3D printed surfaces can elevate the final product. It offers an engaging tactile experience and enhances visual appeal. This creates opportunities for unique designs.
There are several 3D printing techniques to introduce texture. Layer modulation and post-processing can produce diverse surface finishes. Knowledge of materials plays a significant role.
This article explores various methods and ideas for texturizing 3D printed surfaces. From design patterns to finishing techniques, we cover essential aspects for achieving impressive results.
Understanding Texture in 3D Printing
Texture in 3D printing involves the surface finish, which can be smooth, rough, or patterned. It greatly influences both the look and feel of the printed object. Understanding this is pivotal in achieving desired results.
The texture can affect the object’s functionality. For example, a rough surface can improve grip, while a smooth one may reduce friction. Designers must consider these factors during the planning phase.
Advancements in 3D printing technology have made texturing more accessible. From commercial to hobbyist applications, adding texture is now an integral part of the design process.
Layer Modulation Techniques
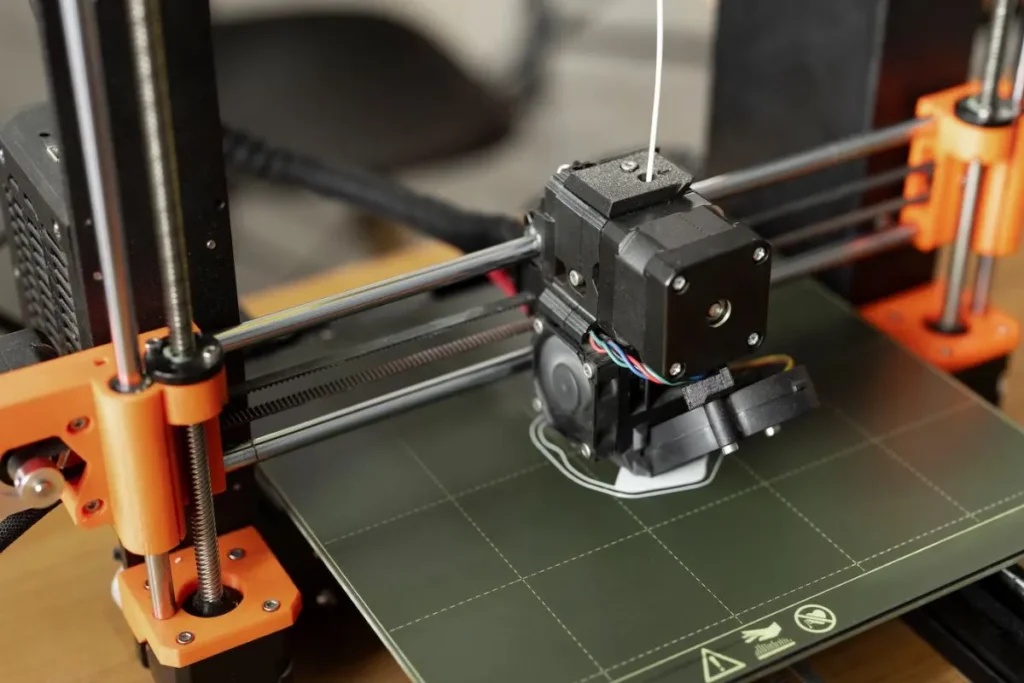
Layer modulation allows control over the surface texture during the printing process. By adjusting the printing parameters, different textures can be achieved. This method is highly effective for intricate designs.
Some common techniques include varying the layer height and adjusting the printing speed. These changes can create a range of finishes, from fine to coarse. Experimenting with these settings can yield unique results.
Software tools also play a crucial role. They enable designers to manipulate 3D models and define specific areas for texturing. This ensures precision and enhances the overall quality of the print.
Layer Height Variation
Varying the layer height can produce different textures. Lower heights result in smoother surfaces, while higher ones create a rougher finish. This technique is widely used for both functional and aesthetic purposes.
- Lower layer heights for finer details
- Higher layer heights for rough textures
- Combining different heights for complex textures
This method requires careful calibration. Combining varying heights in a single print can add depth to the design. It is a simple, yet powerful way to add texture.
Printing Speed Adjustment
Adjusting the printing speed also affects surface texture. Slower speeds generally result in smoother finishes, while faster speeds may lead to a rougher texture. Balancing speed and quality is key.
High-speed printing can introduce imperfections. However, these imperfections can be leveraged for intentional texturing. This requires understanding how speed impacts the specific material being used.
Printing speed adjustment is particularly useful in rapid prototyping. It allows designers to quickly test different textures without extensive post-processing.
Designing Textured Patterns
Incorporating texture during the design phase can enhance the final print. Various software tools allow for the creation and manipulation of textured patterns. This approach provides greater control over the surface finish.
Patterns can be simple or complex. Geometric shapes, organic forms, or custom designs can be used. The choice depends on the intended application and aesthetic goals.
Working on the digital model before printing ensures that the texture is integrated seamlessly. It also helps in visualizing the final product, reducing the need for extensive post-processing.
Using CAD Software
Computer-Aided Design (CAD) software is essential for creating textured patterns. It offers a range of tools for designing and editing 3D models. Learning to use CAD effectively can significantly improve the quality of 3D printed textures.
Most CAD software allows for the import of texture files. These can be applied to specific areas of the model. This level of customization ensures that the texture complements the overall design.
Practicing with different software can help identify the best tools for your needs. Popular options include Fusion 360, Blender, and Tinkercad. Each has its strengths and unique features.
Creating Custom Patterns
Custom patterns can make your 3D prints truly unique. Creating these patterns involves using design software to generate and apply them to the model. This process can be both creative and technical.
- Design unique textures using graphic design software
- Import designs into CAD software
- Apply textures to specific areas of the model
Custom patterns can be tailored to specific needs. Whether for aesthetic purposes or functional requirements, the possibilities are vast. This adds value to the final product.
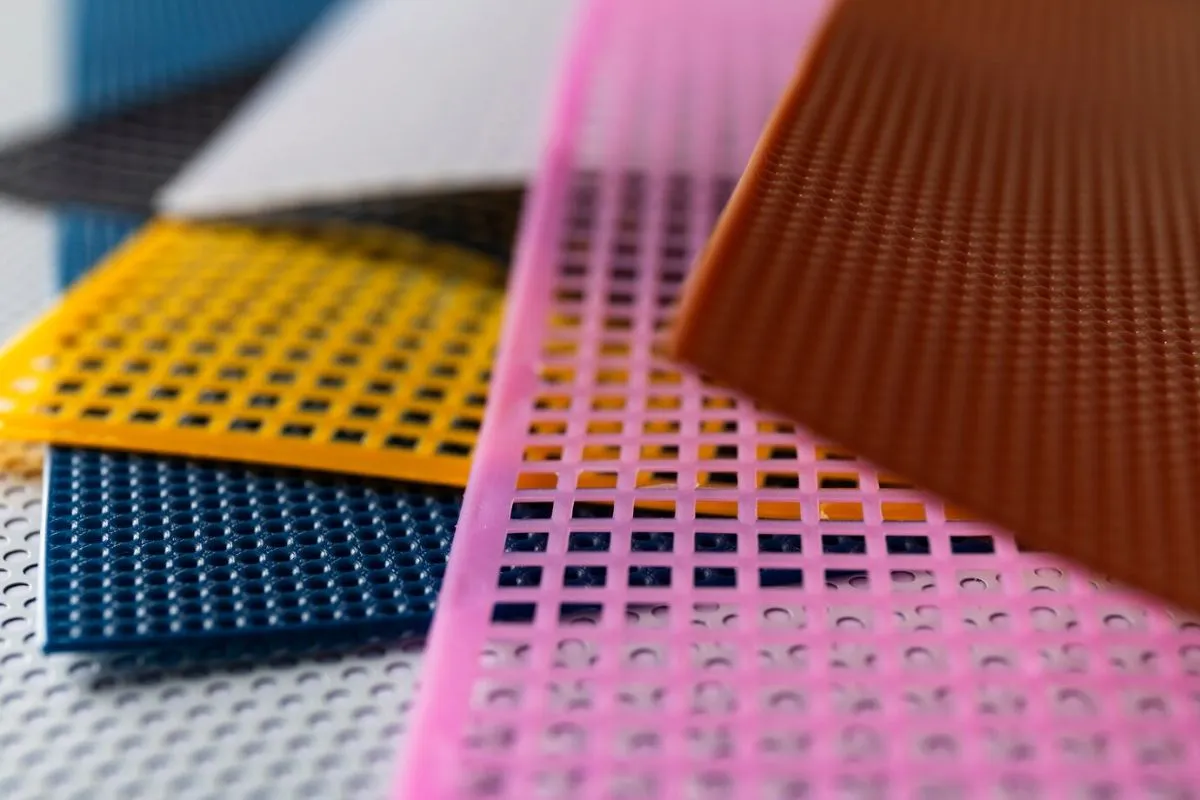
Applying Pre-made Textures
Using pre-made textures is another effective method. These textures can be downloaded and applied to your 3D model. It saves time and ensures consistency in the final print.
There are many online resources offering free and paid texture files. These can be modified to suit your specific needs. Ensuring that textures are compatible with your software is crucial.
Pre-made textures are ideal for those new to 3D printing. They provide a starting point for learning how to apply and manipulate textures effectively.
Post-Processing Techniques
Post-processing refers to the methods used to finish a printed object after it has been printed. This stage is crucial for achieving the desired texture. It involves several techniques that enhance the surface of the 3D printed item.
Common post-processing techniques include sanding, painting, and coating. Each method offers different levels of surface modification. Selecting the right technique depends on the material and intended use.
Combining these techniques can produce impressive results. For example, sanding followed by painting can create a smooth, textured finish. This multi-step approach ensures a high-quality final product.
Sanding and Smoothing
Sanding is a widely-used method for smoothing 3D printed surfaces. It removes layer lines and other imperfections, resulting in a smooth finish. Sanding is suitable for most 3D printing materials.
Starting with coarse sandpaper and gradually moving to finer grits can achieve the best results. This process requires patience, but the outcome is often worth the effort.
Smoothing compounds and primers can also be used. These products fill in the gaps between layers, creating a uniform surface. They are particularly useful for intricate designs.
Applying Finishing Coats
Finishing coats like paints and varnishes can enhance the texture further. They add depth and provide additional protection to the surface. A variety of finishing products are available for different materials.
- Spray paints for even coverage
- Brush-on varnishes for intricate details
- Specialty coatings for specific textures
Applying multiple coats can achieve different effects. Allowing each coat to dry thoroughly ensures a high-quality finish. Finishing coats can transform a simple print into a polished product.
Using Chemical Treatments
Chemical treatments can be used to smooth and texture 3D printed surfaces. Materials like acetone can be used to dissolve and smooth ABS prints. These treatments require caution but can yield excellent results.
Chemical smoothing creates a glossy, polished finish. It is ideal for parts that require a professional appearance. This method is also quicker than sanding for achieving a smooth surface.
Testing chemical treatments on small sections first is recommended. This ensures compatibility with the material and prevents damage to the print. Safety precautions are crucial when using chemicals.
Innovative Ideas for Texturizing
Exploring new ideas can lead to unique textures and finishes. Combining different techniques or materials can offer innovative solutions. Experimentation is key to discovering what works best.
Using mixed materials or hybrid printing techniques can create interesting textures. Combining flexible and rigid materials can add functionality and aesthetic appeal. This approach expands the possibilities of 3D printing.
Collaborating with other designers can also inspire new ideas. Sharing techniques and methods can lead to breakthroughs. It fosters a community of innovation and creativity.
Hybrid Printing Techniques
Hybrid printing involves combining different 3D printing technologies. It allows for the creation of complex textures and multi-material prints. This method opens new avenues for design and functionality.
Combining FDM and SLA printing can produce detailed and durable parts. Each technology offers unique advantages. Leveraging these can result in high-quality, textured finishes.
By merging various printing methods, designers can push the boundaries of what is possible. This leads to the development of new textures and innovative applications.
Exploring Multi-Material Printing
Multi-material printing allows for the combination of different materials in a single print. This technique can create textures that are both functional and aesthetically pleasing.
- Using flexible filaments for soft textures
- Combining rigid and flexible parts for varied feel
- Embedding different materials for complex surfaces
Multi-material printing can also improve the durability of certain parts. It adds versatility to design options and enhances the overall quality of the final product. This approach is gaining popularity in the 3D printing community.
Collaborative Design Projects
Collaborative projects bring together diverse skills and perspectives. Working with other designers can result in innovative textures and new techniques. Collaboration fosters creativity and knowledge sharing.
Participating in design challenges or workshops can provide inspiration. These events often encourage experimentation and the exploration of new ideas. They are excellent opportunities for learning and growth.
Collaboration can also lead to the development of community-driven resources. These resources make advanced techniques more accessible and promote continual innovation.
Key Takeaways
Adding texture to 3D printed surfaces enhances both aesthetics and functionality. Techniques like layer modulation, post-processing, and design patterns are crucial. Experimentation with materials and methods yields unique results.
Continual innovation is vital in 3D printing. Collaborative efforts and the exploration of new ideas drive the field forward. Embracing these practices can lead to remarkable advancements in texture creation.
For those looking to enhance their 3D prints, understanding and applying these techniques is essential. It opens up new possibilities and elevates the quality of your work.
Frequently Asked Questions
How can I achieve a smooth 3D printed surface?
Sanding and chemical treatments can help achieve a smooth surface. Lower layer heights and slower printing speeds also contribute.
What software is best for creating textured patterns?
CAD software like Fusion 360, Blender, and Tinkercad are excellent choices. They offer tools to design and manipulate textured patterns.
Can I use multiple textures on a single 3D print?
Yes, you can combine different textures. This can be done during the design phase or through post-processing techniques.
Is multi-material printing useful for adding texture?
Multi-material printing is highly effective. It allows for varied textures and enhances both functionality and aesthetics.
How important are finishing coats in the texturing process?
Finishing coats are crucial for enhancing texture and providing protection. They add depth and improve the overall quality of the print.